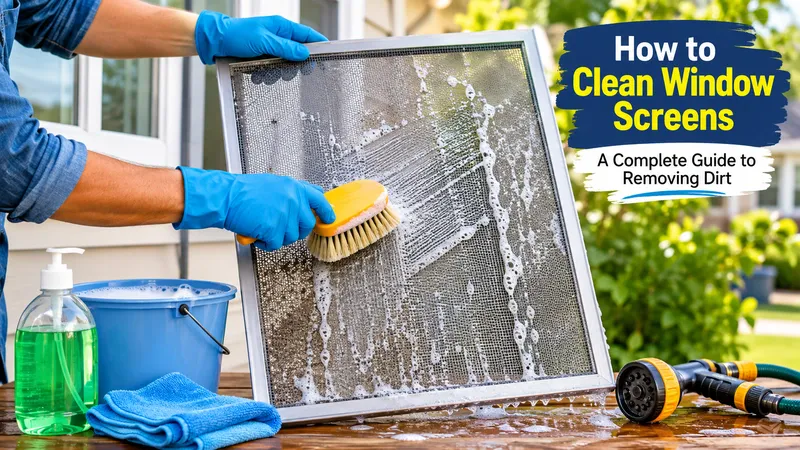
Dusty, grimy window screens block sunlight, trap pollen, and quietly ruin the view from your favorite reading chair. Most homeowners forget about them entirely until they notice a gray haze filtering the light — or until allergy season hits and they realize the screens are part of the problem. The good news: cleaning window screens is one of the simplest home maintenance tasks you can knock out in an afternoon, and you probably already own everything you need.
This guide walks through exactly how to clean window screens, whether they’re still in the frame or you’ve popped them out for a deeper scrub.
Why Window Screens Get Dirty So Fast
Screens sit at the intersection of outdoor air and indoor comfort, so they catch everything in between. Wind-blown dust, pollen, spider webs, cooking grease from an open kitchen window, and even cigarette smoke residue settle into the mesh over time. Because the weave is so fine, dirt doesn’t just sit on the surface — it works its way into the fibers, which is why a quick wipe-down often isn’t enough.
If you live near a busy road, in a dusty climate, or close to trees and gardens, expect screens to need attention every three to four months. Homes in cleaner, less trafficked areas can often stretch that to twice a year. If you need more information, visit our website.
What You’ll Need
You don’t need specialty cleaners for this job. A basic supply list works for nearly every screen type:
- A gentle cleaning brush or a vacuum fitted with a soft brush nozzle
- Mild dish soap
- A bucket of warm water
- A soft microfiber cloth or sponge
- A garden hose (for outdoor rinsing)
- An old towel or drop cloth to lay screens on while they dry
Avoid stiff wire brushes or abrasive scrubbers. Screen mesh, especially fiberglass or aluminum, dents and tears easily under too much pressure.
Step 1: Take the Window Screens Out for Cleaning
Most residential window screens pop out with a gentle push from the inside, using a flathead screwdriver or putty knife along the frame edges if they’re stiff. Removing the screen makes cleaning faster and lets you clean the window glass and track at the same time — a task many people skip precisely because the screen is in the way.
If your screens are fixed in place or original to an older home, you can still clean them effectively without removal; just adjust the steps below slightly, working section by section instead of dunking the whole frame.
Step 2: Clear Away Loose Dust and Debris
Before any liquid touches the screen, remove loose debris. Lay the screen flat and vacuum both sides with a brush attachment, or use a dry, soft brush to knock away cobwebs, dust, and dry dirt. Skipping this step turns light dust into mud once it meets water, which just adds a second round of cleaning.
For screens still in the window frame, a handheld vacuum works well since you can angle it into corners without removing anything.
Step 3: Scrub the Screens With Soapy Water
This is the core of how to clean window screens properly, and it’s simpler than most people expect.
Mix a few drops of dish soap into a bucket of warm water. Dip a soft sponge or microfiber cloth into the solution and wipe both sides of the screen in gentle, circular motions. For screens laid flat on a towel outdoors, a soft-bristle brush dipped in the soapy water works even faster, especially on aluminum mesh that can handle a bit more friction than delicate fiberglass.
Pay extra attention to the frame edges and corners, where grime tends to build up thickest.
Step 4: Rinse Thoroughly
Once scrubbed, rinse each screen with a garden hose on a gentle spray setting, or run it under a shower head if you’re working indoors in a tub. High-pressure settings can stretch or tear the mesh, so keep the water flow moderate. Rinse both sides to make sure no soap residue remains, since dried soap film attracts dust just as easily as the original grime did.
If you don’t have outdoor access, laying the screen in a bathtub and rinsing with a handheld sprayer works just as well.
Step 5: Make Sure the Screens Are Completely Dry
Lean screens against a wall or lay them flat on a towel in a shaded, well-ventilated spot. Direct sun can warp certain frame materials, particularly vinyl and some aluminum composites, so shade is the safer bet. Drying usually takes 20 to 30 minutes depending on humidity.
Reinstalling a damp screen isn’t a disaster, but it does invite mildew growth inside the frame track over time, so a few extra minutes of patience pays off.
Handling Stubborn Stains and Mildew
Screens near bathrooms, basements, or shaded exterior walls sometimes develop mildew spots that soap alone won’t lift. For these, mix one part white vinegar with three parts water and apply it with a soft cloth, letting it sit for five minutes before rinsing. Vinegar’s mild acidity breaks down mildew without damaging the mesh or frame finish, and it’s a method many professional window cleaners rely on precisely because it’s effective without being harsh.
For grease film near kitchen windows, a slightly stronger soap solution or a small amount of baking soda paste on a soft cloth handles it without scratching the screen.
How Often Should You Clean Window Screens?
A practical rule: clean screens whenever you do seasonal window washing, typically spring and fall. Homes in dusty or pollen-heavy regions benefit from an extra midsummer pass. Kitchen and bathroom screens, which collect grease and moisture respectively, often need attention more frequently than screens in bedrooms or living rooms.
Final Thoughts
Knowing how to clean window screens properly comes down to five things: remove debris first, use a gentle soap solution, rinse well, dry fully, and reinstall only once everything’s bone-dry. Skip the harsh chemicals and stiff brushes, and the mesh will last for years without sagging, tearing, or discoloring.
It’s a small task, but the payoff is immediate — more light, cleaner airflow, and a noticeably better view the next time you glance outside. For more information, visit our website.